Assign and Unassign Supply Requests
Article ID: 3276
Role required: Resupply user
You can assign one or more supply requests to team members to streamline your order-processing workflow. After an assigned supply request has been confirmed, you can export these into an Excel spreadsheet for reporting.
Access the Supply Requests list
You can access the Supply Requests list page in 3 ways:
-
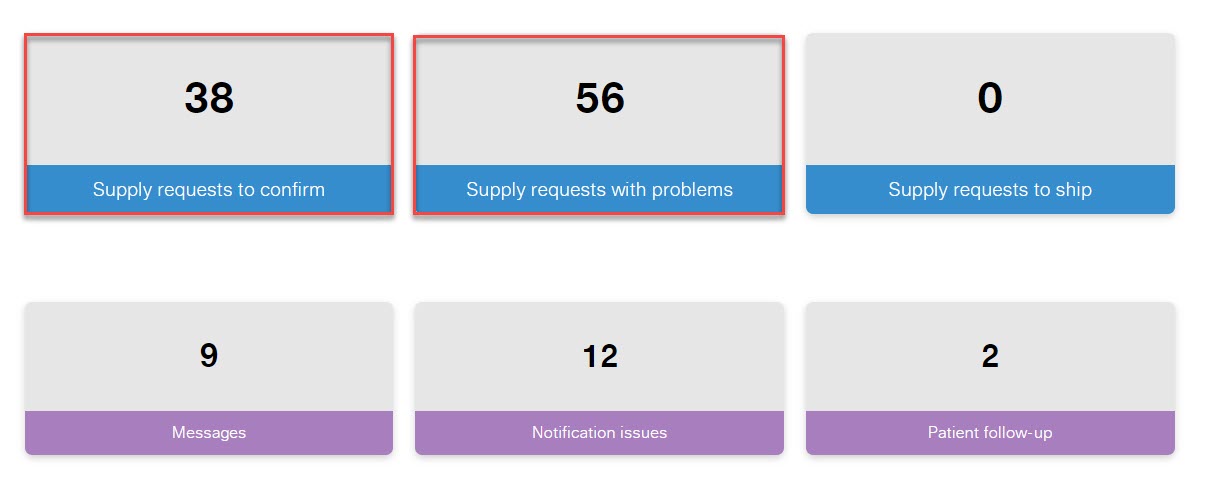
Click the Supply Requests to Confirm action group on the Dashboard
-
Click the Supply Requests with Problems action group on the Dashboard
-
Click the Supply Requests tab and select All Supply Requests from the drop-down menu

Keep in mind:
-
A supply request can have only one assignee
-
The assignee's name is displayed in the Assigned To column
-
You cannot assign supply requests to inactive users. If a member of your organization leaves, you must reassign their supply requests to an active user.
Assign a Supply Request
There are two ways to assign a supply request to yourself or another user:
From the Supply Request Page
-
Select the check box next to one or more supply requests on the Supply Requests list page
-
At the top of the page, click the Assign button

-
Select a user from the drop-down list
-
Click the Assign button
From the Supply Request
-
At the top of the page, select a user from the Assigned to list

-
Click the Save button
-
To exit the page, click the Close button
Unassign a Supply Request
-
From the Supply Requests list page, select the check box next to one or more supply requests
-
At the top of the page, click the Assign button
-
Select Unassigned from the drop-down list

-
Click the Assign button
Filter Supply Requests by User
To view a list of supply requests assigned to you:
-
From the Supply requests list page, click the Show Only button
-
Select your name from the Assigned to drop-down list
-
Click the Apply button
If you have any questions, please contact your Solutions Operations Specialist.
- Revision History
- The following table summarizes changes for each published version of this article.
Date
Changes
18 March 2024
Remove obsolete videos. Update format to the current standard. Minor revisions for clarity. (K00223)
19 July 2022
Minor revisions.
30 March 2021
Initial publication. All new content.