Auto-Inactivation Feature
Article ID: 5729
Role required: Organization administrator
The Auto-Inactivation feature schedules a timeframe for inactivating non-ordering patients between 12 and 24 months, based on the date of the patient's last supplied item. The Auto-Inactivation feature can also be used in conjunction with the ReVive feature, leveraging the Auto-Inactivation feature to inactivate patients who were sent a ReVive letter but have not responded. The inactivation can be scheduled for 3 to 12 months after the patient is sent the ReVive letter.
By default, the Auto-Inactivation feature is turned off. There is no additional cost to use this feature.
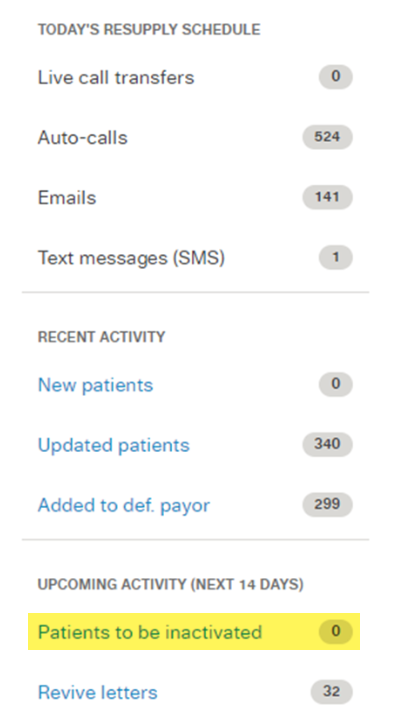
When enabled, the dashboard will show an additional category in the Upcoming activity (Next 14 days) section labeled Patients to be inactivated. Click Patients to be inactivated to monitor and review the list of patients and action their accounts.
Enable Auto-Inactivation Feature
To enable the Auto-Inactivaton feature, proceed as follows:
-
Login to ResMed ReSupply at https://resupply.resmed.com/Account/Login
-
Click the Administration button in the top right-hand toolbar
-
Select Organization details from the drop-down menu
-
Scroll to the bottom of the page and click the Edit button
-
In the Auto-Inactivate section, select the radio button next to <value> month(s) after patient last requested supplies
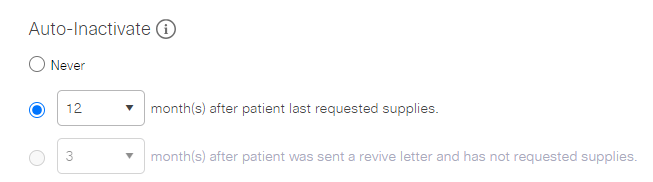
-
Choose the appropriate number of months from the drop-down menu
-
Click the Save button
Enable the Auto-Inactivation Feature and Revive Feature
To enable the Auto-Inactivaton feature in conjunction with the Revive Feature, proceed as follows:
NOTE: The ReVive Feature must be enabled. To enable this feature, please reach out to your Solutions Operations Specialist.
-
Login to ResMed ReSupply at https://resupply.resmed.com/Account/Login
-
Click the Administration button in the top right-hand toolbar
-
Select Organization details from the drop-down menu
-
Scroll to the bottom of the page and click the Edit button
-
In the Auto-Inactivate section, select the radio button next to <value> month(s) after patient was sent a ReVive letter and has not requested supplies
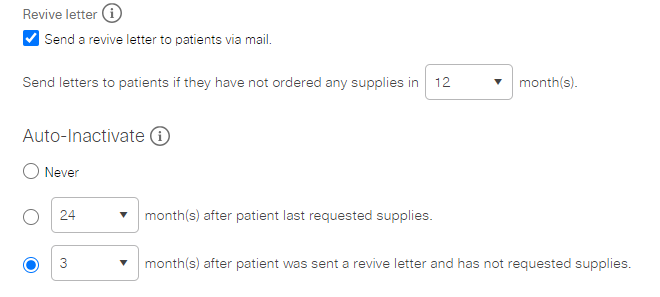
-
Choose the appropriate number of months from the drop-down menu
-
Click the Save button
- Revision History
- The following table summarizes changes for each published version of this article.
Date
Changes
15 February 2024
Initial publication. All new content. (K00027)