Associate a new payor with my organization
You may need to associate a new payor profile when a patient switches to an insurance provider that's not in the system. If you're an administrator or have administrator rights, you can associate additional payors with your organization.
Before a new payor is associated, you must verify that an eligibility schedule and set of reimbursement rates are available for the payor. If not, you must create these first.
Managing eligibility schedules
Required documents
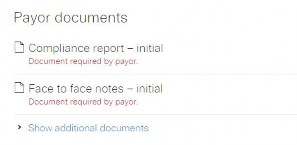
As you associate a new payor profile, you can specify which documents a patient requires to be compliant. From the Required documents list, select the documents you'd like ResMed ReSupply™ to notify you about before they expire. This requires you to upload the selected document(s) with an expiry date to the patient's profile. When you submit a supply request for a patient who has an expired document, or is missing a document, a warning displays.
![]()
Replacement reason required
In the Replacement reason required? list, if you select Yes, you see the following questions in the resupply questionnaire:
- Is [your item] dirty?
- Is [your item] damaged?
- How many [items] are on hand?
Note: Most Medicare payors require replacement reasons.
Alternative names for this payor
You can add alternative names for a payor. Alternative names are helpful when the payor names in your patient export data are not the same in ResMed ReSupply. They increase the chances for a name match.


Step-by-step instructions
Associate a payor
- From the Administration menu, select Payors.
- Click Add payor.
- From the Payor name list, select a payor.
- From the Status list, select a status.
- From the Replacement reason required? list, select Yes or No.
- From the Eligibility schedule list, select an appropriate eligibility schedule.
- From the Reimbursement rates list, select a set of rates.
- Select the check boxes beside the required order documents.
- In the Add an alternative name for this payor field, enter any alternative names that are used for this payor.
- Click Save.
Update a payor
- From the Administration menu, select Payors.
- Click the name of the payor.
- Click Edit. Enter all required details.
- Click Save to update details, or Cancel to keep original settings.